WooCommerce GCP
Usage Instructions
Note
Before you start to access the system, please ensure the Status of the instance in the GCP Console turns to Green, or the initialization process might be interrupted and the software configuration fails. It takes about 1-5 mins.
Note
Please replace the instance ID with the actual instance ID of your running VM instance, and the External IP your actual public DNS address.
Deploying
First, we’re going to deploy the
WooCommerce, ClickLaunch on Compute Engine.
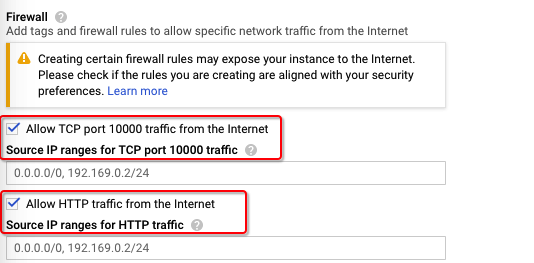
2. You can take the default settings or customize them. When complete click Deploy.
But you need to make sure allow TCP port 1000 and HTTP traffic.
Inspecting
When the instance was deployed. To initialize WordPress, we will need to get the
External IP, andinstance id.
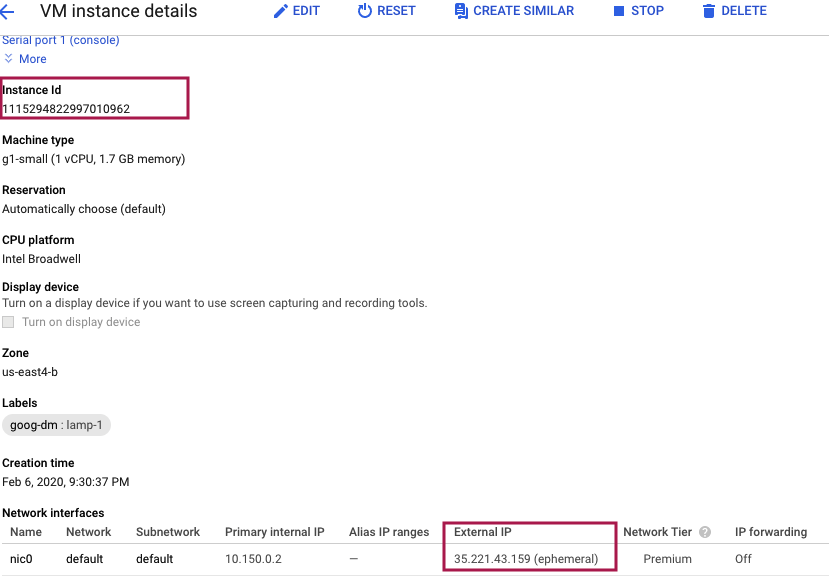
Now, we can open a web browser to
http://<External IP>to view initialization interface.
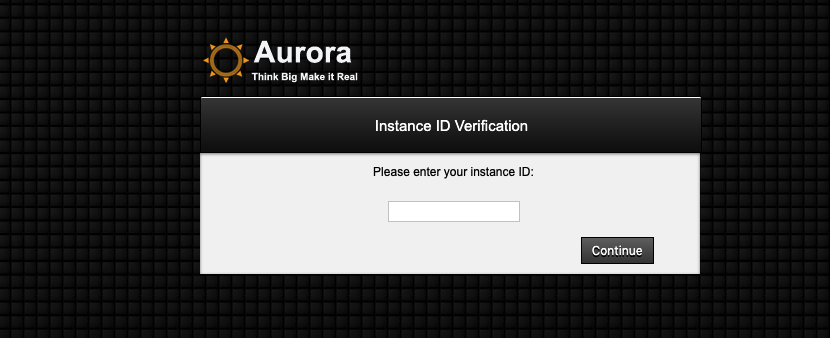
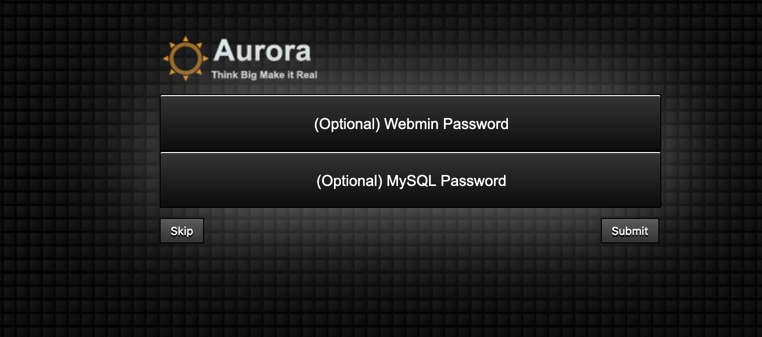
3. Enter the instance id to finish the verification and then to update the webmin
and MySQL password. If you want to keep the default password just press the skip button.
(webmin default Username: aurora, default password : <instance id>)
(MySQL default Username: aurora, default password : <instance id>)
4. Then you can see WordPress home page. With http://<External IP>/wp-admin to set up it.
(WordPress default Username: aurora, default password: <instance id>) Then you can check the redis status.
(Redis default password: <instance id>)
Finally we can open a web browser to webmin with
http://<External IP>:10000.