V2Ray VPN GCP
Usage Instructions
Note
Before you start to access the system, please ensure the Status of the instance in the GCP Console turns to Green, or the initialization process might be interrupted and the software configuration fails. It takes about 1-5 mins.
Note
Please replace the instance ID with the actual instance ID of your running VM instance, and the External IP your actual public DNS address.
Deploying
First, we’re going to deploy the
V2Ray VPN, ClickLaunch on Compute Engine.
2. You can take the default settings or customize them. When complete click Deploy.
But you need to make sure allow TCP port 65432 and HTTP traffic.
Inspecting
When the instance was deployed. To initialize V2Ray System, we will need to get the
External IP, andinstance id.
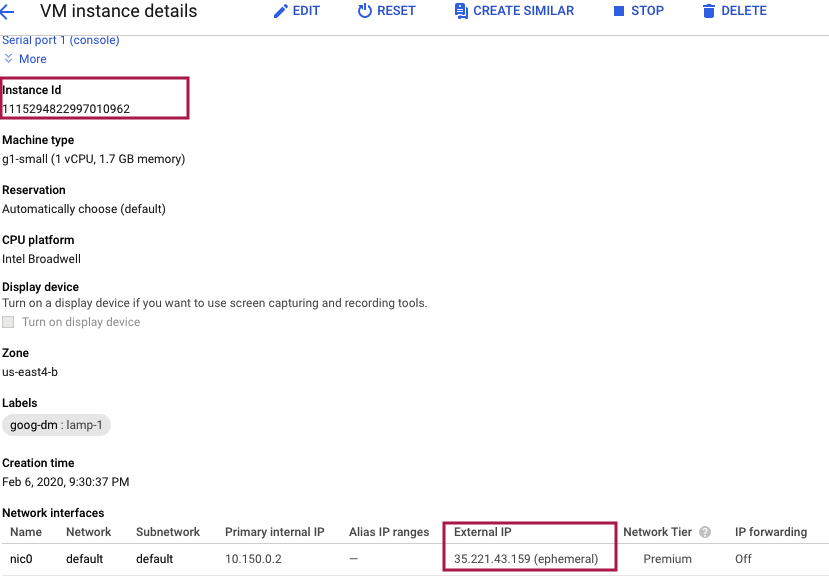
Open a web browser to V2ray system with
http://<External IP>:65432. Default username wasadmin, default password wasinstance id.
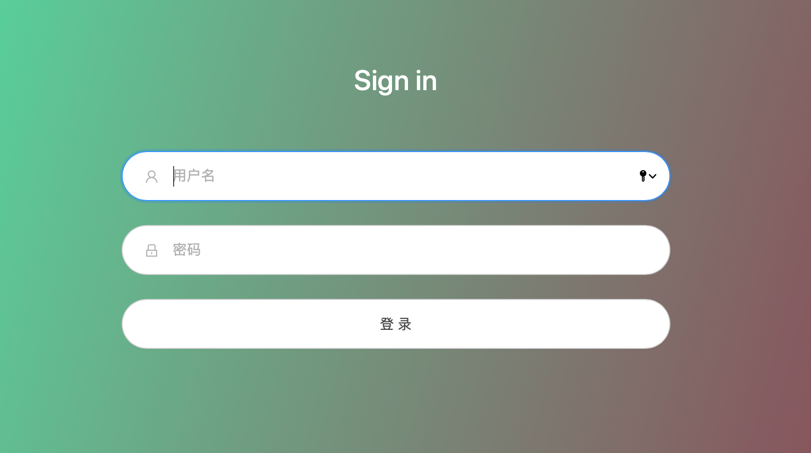
When you login the system, you can reset the password. Go to the
panel settings(面板设置).

Create your VPN account. Go to the
accounts(账号列表), that you need to get your link fromcopy link.
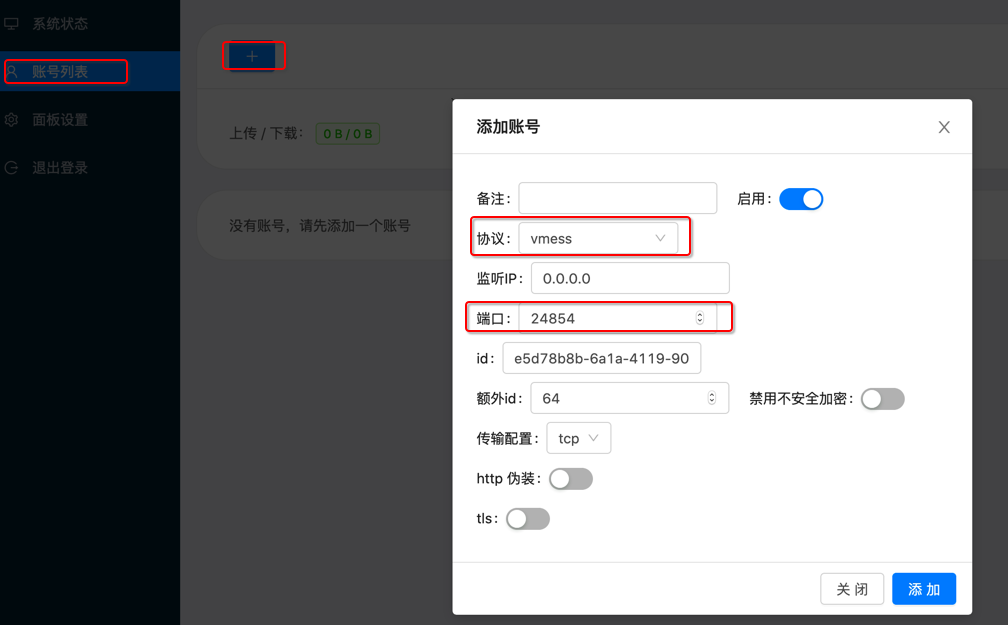

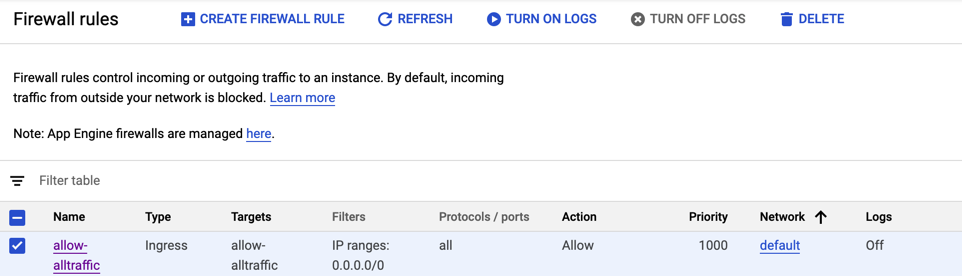
Note
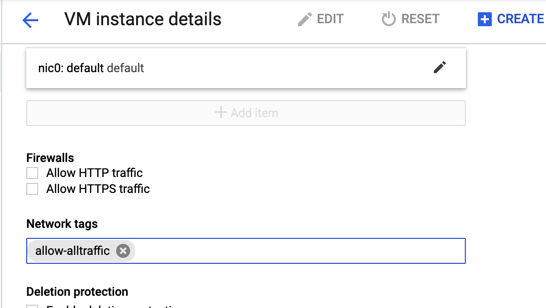
You need to make sure your account’s port have public to the world in Firewalls. You can also set
a Firewall rules 0.0.0.0/0 and the add to the VM instance Network tags.
At last, you need to install client and import the
linkto the client.
Windows V2rayN
https://github.com/2dust/v2rayN/releases
Mac V2rayU
https://github.com/yanue/V2rayU/releases
Android Kitsunebi
https://github.com/eycorsican/kitsunebi-android/releases
iOS Kitsunebi
https://itunes.apple.com/us/app/kitsunebi-proxy-utility/id1446584073?mt=8